What is the proper way to write a check? When would you need to make use of one? This comprehensive guide will teach you the response to both of these questions in a step-by-step format.
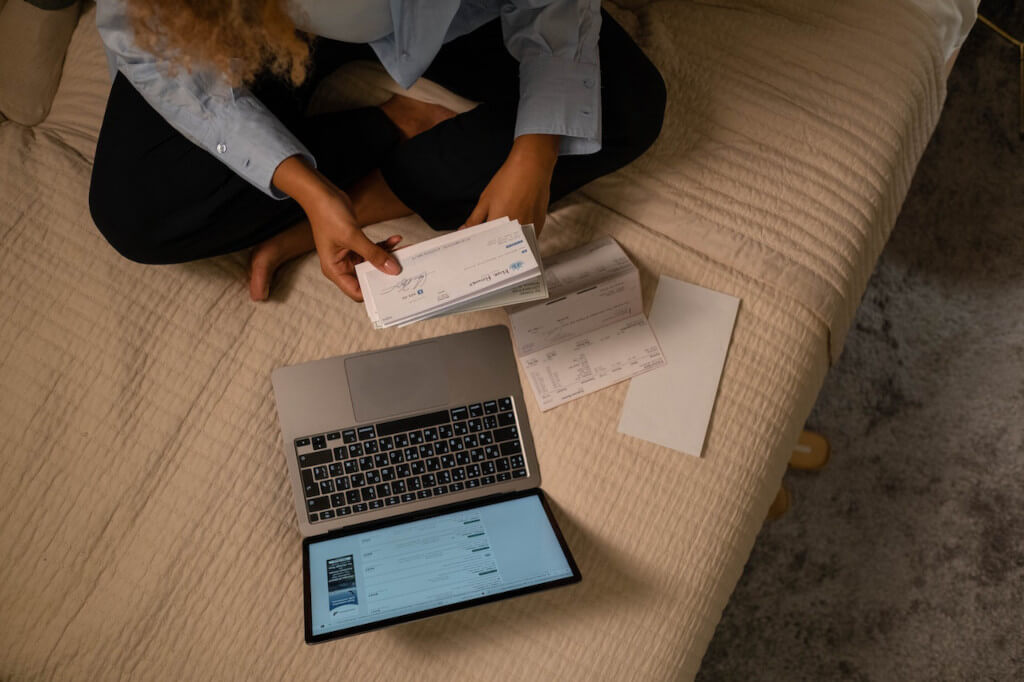
These days, most people will send their money through an online service. Account holders can take care of everything ranging from budgetary and bank records to credit cards and direct deposits directly from their phones thanks to the availability of mobile banking options.
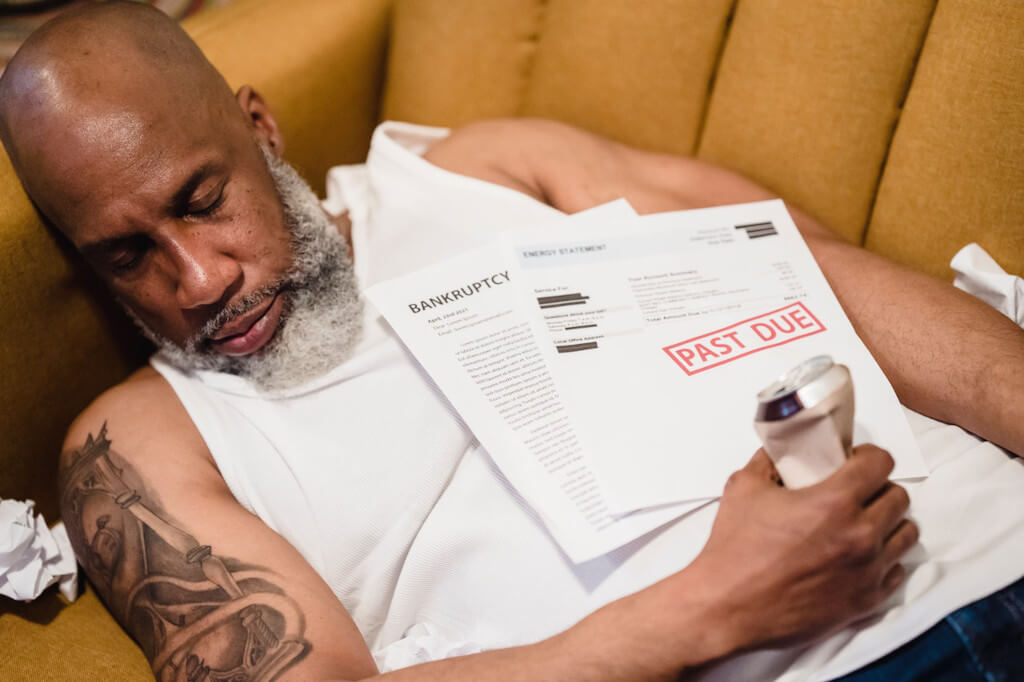
Despite this, there is still a chance that you will need to physically mail a check to a recipient at some point. In addition, being able to write checks using your checkbook is an essential business skill, regardless of whether you are an employer who needs to pay their employees or a person who wants to send money to a different organization.
Before Getting Started
Verify that the check you intend to use is legitimate by looking for specific information on it before you start writing checks. The following components should always be present on a check:
- A routing number, located in the bottom left corner of the document, identifies a particular branch of a financial institution.
- a customer account number to the right of it. This is the checking account that is most likely connected to the debit card and the check that was written.
- A check number is displayed alongside the account number.
- If the information is missing from the paper checks you use, you can obtain additional details by contacting the online banking institution you use or the check register.
First Step: Jot Down the Date
The first thing you need to do is locate the upper right-hand corner of the check and write the date there. There ought to be a distinct dividing line for this piece of information. You are freae to write the date in any way you want, but in the United States, the majority of states use a format that specifies the month, day, and year in that order. For example, November 17th, 2022 would be written as 11/17/2022.
Step 2: Write the Recipient’s Name in the Appropriate Space
The following step involves writing the recipient’s name on the personal check that was just created. You can write this information down on the line that says “pay to the order of,” which is the first lengthy line on the face of a standard check.
You are required to write the name of the individual or business that will be receiving the funds from the check. Use the complete name as you are familiar with it. If you do not have the name of the individual or company you are paying for, another option is to simply write “Cash” on the check or receipt. If you don’t appoint a specific entity to cash the check, however, anyone can do so, which makes this strategy risky.
Step 3: Indicate the Total Amount of the Payment
Now it’s time to put the total amount of the payment into numerical form. You will find that there are two separate spaces for you to report the amount of money that is on the check.
To get started, locate the tiny box on the right-hand side of the check and write the number in the numerical form inside of it. You should write this as clearly as you can; an effective method is to underscore the cents after the rands so that bank tellers can read the data quickly. You should also capitalize the first letter of each word. On the line that follows the phrase “pay to the order of,” you will then be required to write the numerical quantity of the check in words.
On this line, for example, you would write “one hundred rand and twelve cents” if you were writing a check for the amount of R100.12 if you were writing a check. If you’re creating a check for a whole rand amount with no cents, you still should include “no cents” or “00/100” for additional clarity. When writing a check, it is always to your advantage to be as precise as possible.
You also have the option of writing a blank check, which will allow another person to take control of the check-writing process once they have recovered the check.
The Fourth Step is to Write the Memo
In the bottom left-hand corner of the check, you will see a line that is labeled “memo.” You are not required to complete it, but doing so can be beneficial if you want to differentiate the purpose for which the check was written. For instance, if you are writing a check to the company that provides your utilities, you could write “utility bill.”
If you pay your invoice with a check, the business may request that you write your banking information in the memo area of the check. Because they are unlikely to recollect your name alone, writing down your account numbers will make it easier for them to determine who is paying them and quickly bring your account into balance.
Put Your Signature on the Check
The final action is to sign the check on the line that is located in the lower right-hand corner of the surface. If you have not done so already, give your signature a few times to practice writing before moving on. Make sure you sign the check with the same signature you did when you first launched the checking account. This notifies the bank that you are willing to pay the amount that is written on the check as soon as it is cashed by someone else.
Where Do We Stand With the Recommendation Clause?
On the back of the check, there will be one or more lines on one side for “approval.” You don’t need to enter anything into these lines. Conversely, the endorsement lines are meant to be filled out by the individual or organization that will be cashing or depositing the check. They are required to sign the endorsement line to demonstrate that they’ve approved the check and are willing to take accountability for the funds. If you write something on the check, the person who is supposed to cash it might not be able to do so, which could throw the whole process into disarray.
When to Pay Someone With a Check and When Not to
In most situations, checks can be utilized in the same manner as cash or debit. For example, if you have to pay a bill to your utility company or another company, using a check remains an excellent way to do so. Checks offer a higher level of protection than cash does, which is why many businesses anticipate receiving checks from their clients.
You also have the option of giving someone a cash gift by writing them a check. Any money that you give to someone in the form of a check is instantaneously safer than handing them a large sum of cash due to the requirement that checks be cashed by someone whose signature matches the signature of the recipient.
Checks are another option for delaying the delivery of money to the recipient until a later time. If you mail a check with a postmark that indicates it was mailed on a certain date, the recipient won’t get the check until you decide the time is right for them to get it. It’s a good idea to get in the habit of using postmarks on your checks if you want to avoid having money taken out of your account before a specific date, such as your next payday.
Because they allow you to avoid incurring fees for overdrafts, post-dated checks are a useful tool for personal finance management if you need to keep careful track of your money.
The process of writing a check is not overly complicated and only requires a short amount of time. Now that you are aware of the proper way to write a check, you will have the potential throughout your life to make use of this important skill a hundred or even thousands of times.